Cyber Range and Kali Linux commands: Getting Started
Purpose
- Learn how to log in and use the Cyber Range.
- Practice a few basic Kali Linux commands.
- Complete an assignment to demonstrate mastery of these commands.
Step 1: Access Your Cyber Range Account to run your Python 3 program.
- Locate your Cyber Range Passwords by seat number.
- Click here to get your ID and password
- Click here to log in to your Cyber Range. Click on your Kali server.
*********** Review these notes below carefully **********
2. Open the Linux Terminal
Once logged in, locate and open the Terminal (command box).
3. Check if Python is Installed
python3 --versionIf you see something like Python 3.10.x, Python is ready. If not, contact your instructor.
4. Run Python Interactively
python3This opens the Python shell. Try typing:
print("Hello from Cyber Range!")Exit with exit() or press Ctrl + D.
5. Run a Python Script
Create a file called hello.py using the built-in editor:
nano hello.pyType your code:
print("Hello, World from Cyber Range!")Save with Ctrl+O → Enter, exit with Ctrl+X, then run:
python3 hello.py6. Make a Script Executable (Optional)
Add this line to the top of your file:
#!/usr/bin/env python3Then run:
chmod +x hello.py
./hello.pyCtrl + Shift + Alt. Step 2: The Linux Terminal
The command box in Linux is called the Terminal.
- It is a program where you type commands to interact directly with the computer.
- The shell (usually bash) interprets and runs your commands.
- Think of it as speaking to the computer in its own language.
Step 3: Basic Linux Commands
1. ls – List Files and Directories
Displays the contents of the current (or specified) directory.
ls -l→ long listing (permissions, size, date)ls -a→ show hidden filesls -lh→ human-readable file sizes
2. cd – Change Directory
Moves you to a different directory.
cd Documentscd ..→ go up one directorycd /→ go to root directorycd ~→ go to home directory
3. pwd – Print Working Directory
Shows the full path of the directory you are in.
/home/username/Documents
4. cat – Concatenate and Display Files
Displays the contents of a file.
cat file.txtcat file1.txt file2.txt > combined.txt→ combine filescat -n file.txt→ show line numbers
5. nano – Text Editor
Opens a simple editor inside the terminal to create or edit files.
nano file.txt- Shortcuts inside Nano:
- Ctrl + O → Save file
- Ctrl + X → Exit Nano
- Ctrl + K → Cut a line
- Ctrl + U → Paste a line
6. history
Displays a list of previously entered commands with line numbers.
*********** Complete these instruction below **********
Click on the link for the Kali Linux virtual machine.
7. Open the Linux Terminal
Once logged in, locate and open the Terminal (command box).
3. Check if Python is Installed
python3 --versionIf you see something like Python 3.10.x, Python is ready. If not, contact your instructor.
4. Run Python Interactively
python3This opens the Python shell. Try typing:
print("Hello from Cyber Range!")Exit with exit() or press Ctrl + D.
5. Run a Python Script
Create a file called hello.py using the built-in editor:
nano hello.pyType your code:
print("Hello, World from Cyber Range!")Save with Ctrl+O → Enter, exit with Ctrl+X, then run:
python3 hello.py6. Make a Script Executable (Optional)
Add this line to the top of your file:
#!/usr/bin/env python3Then run:
chmod +x hello.py
./hello.py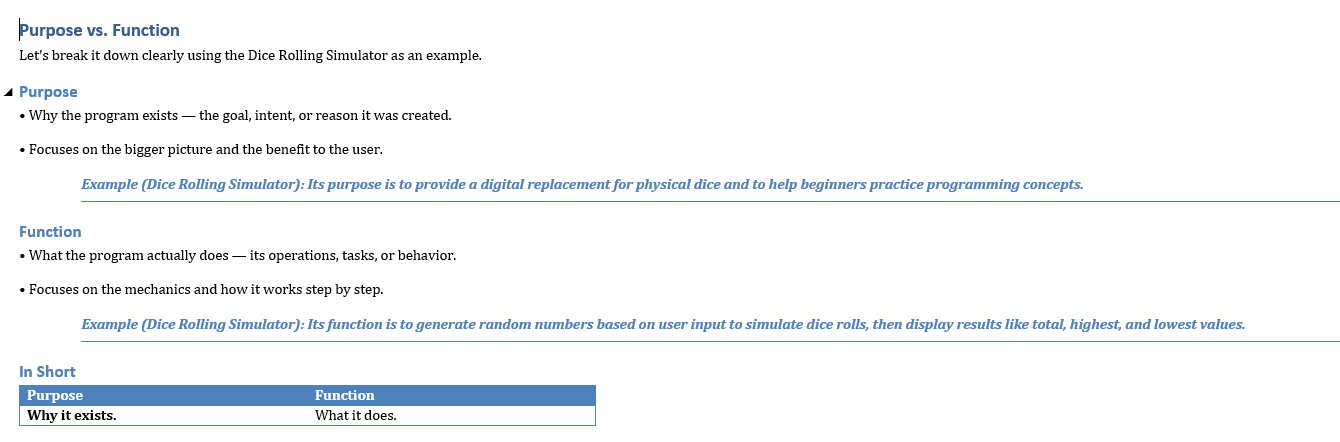
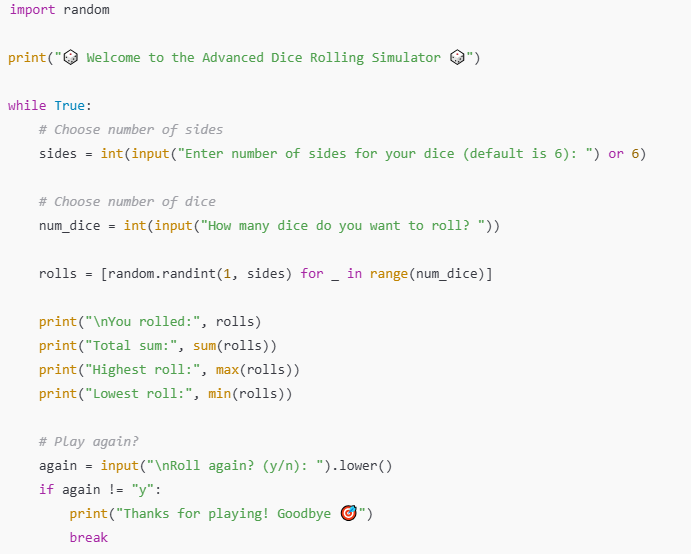
Step 7: Program to complete
Purpose: The Dice Rolling Simulator is a simple Python program that uses randomness to simulate rolling dice on a computer. Its purpose is both practical and educational: it can replace physical dice for games like board games or role-playing games while also helping beginners practice programming concepts such as loops, conditionals, user input, lists, and random number generation. By allowing users to roll different types of dice, choose the number of dice, and view results like totals, highest, and lowest rolls, the program demonstrates how code can model real-world actions in a fun and interactive way.
The function of the Dice Rolling Simulator program is to generate random dice rolls based on user input, simulating the action of rolling physical dice. It allows the user to choose how many dice to roll and how many sides each die should have, then displays the individual results along with useful information such as the total, highest, and lowest values. This makes the program both a practical tool for replacing real dice in games and an educational example for learning how to use randomness, loops, and conditionals in Python.
Step 8: Assignment Deliverables
- Video Recording
Record yourself running this program.
Save as:PX_lastname_PythonLinux.mp4 - Screenshot
Take a screenshot of your terminal after using thehistorycommand.
Save as:PX_lastname_PythonLinux.png
✅ Once you’ve completed both tasks, submit them as instructed.